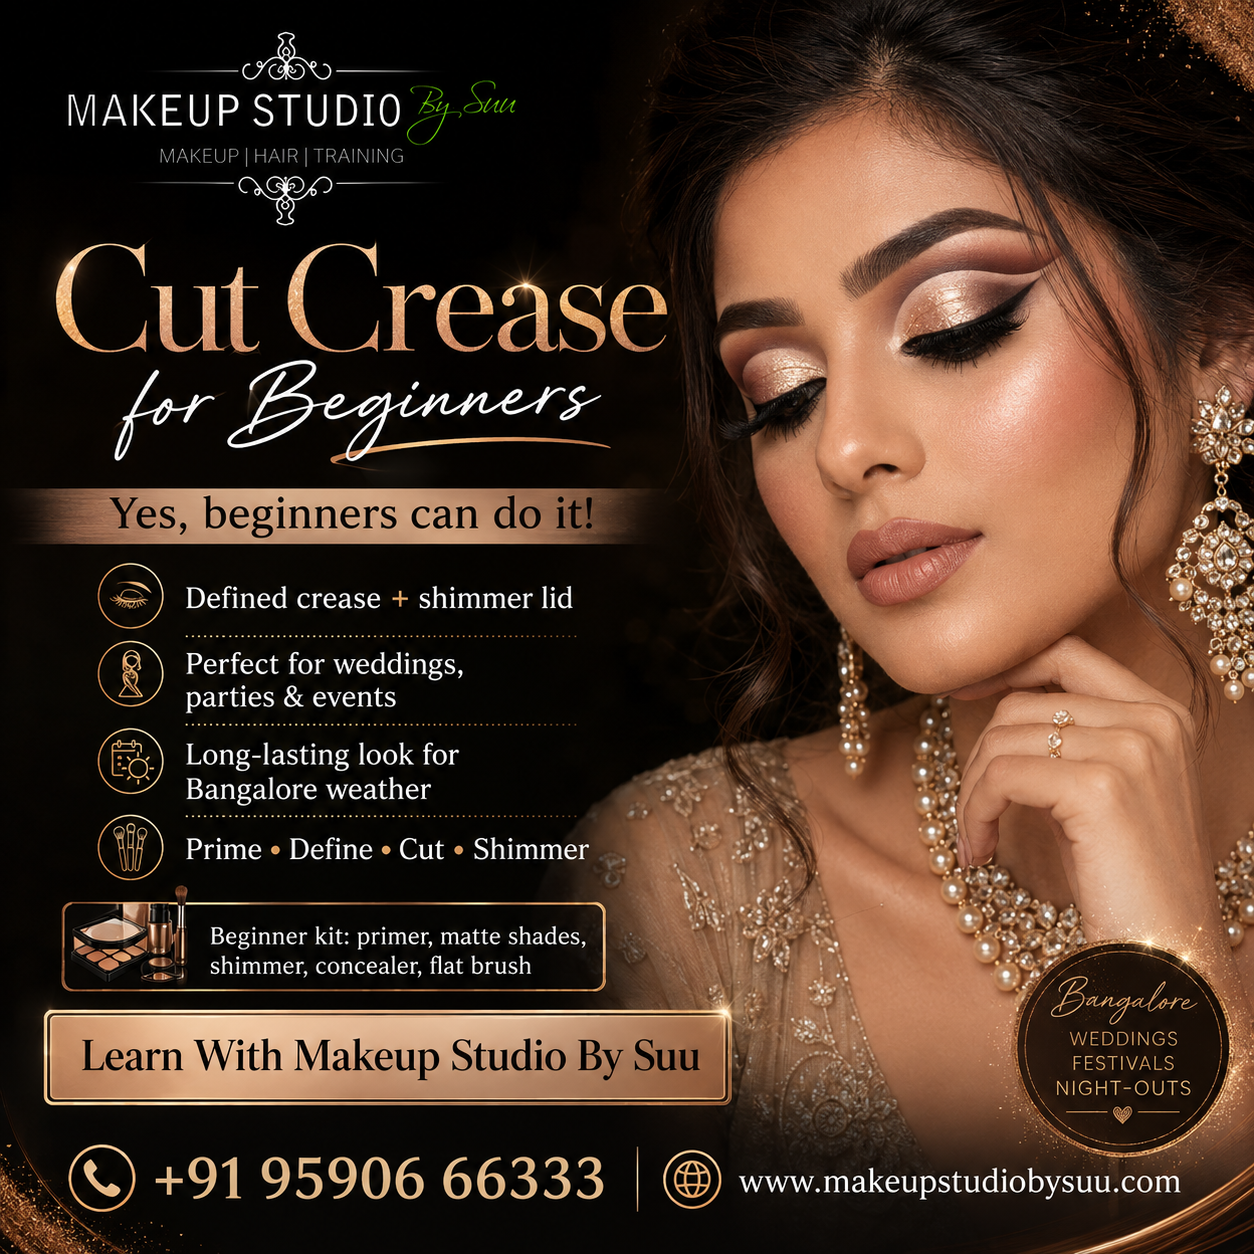
A cut crease is a makeup technique where you define the crease of your eyelid with a darker shade and then “cut” it by applying a lighter, often shimmering, shadow on the lid, creating a sharp contrast that makes your eyes look bigger and more defined. Yes, as a beginner, you can absolutely do it—it’s all about following simple steps, using the right tools, and not being afraid to practice.
Bangalore is a city of weddings, festivals, and night outs, and a cut crease is the go-to for many clients because it photographs beautifully and lasts through humidity. Plus, with the unpredictable rain, we need a look that doesn’t smudge easily, and a well-set cut crease does exactly that.
You don’t need a pro kit. Here’s my basic list:
The humidity in Bangalore makes oily lids a common issue. Start with a good eye primer and set it with a translucent powder. This prevents creasing.
Look straight into a mirror and place your brush at the natural socket of your eye. Use a matte brown shadow and make windshield-wiper motions to create a soft outline. This defines where your crease will be.
Take a darker shade (like a deep brown) and place it on the outer third of the crease, blending inward. This adds depth.
This is the key step. Take a small flat brush or a Q-tip and apply concealer on your eyelid, from the lash line up to the crease you just made. The concealer creates a clean, sharp line that “cuts” the crease. Make sure it’s even.
Gently press a shimmer shadow onto the concealer using a flat brush. This metallic or shiny lid contrasts with the matte crease.
Use a clean fluffy brush to softly blend the upper edge of the shimmer into the crease, so there’s no harsh line.
Add eyeliner (optional), curl your lashes, and apply mascara. You’re done!
Place your crease according to your natural eye socket. If you place it too high, it looks unnatural; too low, it takes over your lid. Use a mirror and a light hand.
Start light. You can always add more, but it’s hard to remove excess without ruining the look.
In Bangalore’s weather, set your makeup with a good setting spray to melt the powders together and ensure long wear.
For Indian skin tones, which range from fair to deep, here’s a quick guide:
| Skin Tone | Crease Shade | Lid Shade |
|---|---|---|
| Fair | Soft taupe | Champagne shimmer |
| Medium | Warm brown | Gold or copper |
| Deep | Dark brown or plum | Bronze or bronze |
These shades complement your natural melanin and don’t look ashy.
For a beginner, expect to spend 20-30 minutes. At a salon in Bangalore, a professional cut crease can cost anywhere from ₹1,500 to ₹3,000, but at home, it’s just the cost of the eyeshadows you already have.
The easiest is a simple matte cut crease with a subtle shimmer on the lid. Avoid complex shapes like double cut creases until you’re comfortable.
Absolutely. Use a white or nude eyeliner pencil to draw the shape, then blend with a brush. It’s easier to control for beginners.
Yes, but you’ll need to place the crease slightly above your natural crease so it’s visible when your eyes are open. Test with your eye open to check.
Tap off excess from your brush before applying, and do your eye makeup before your foundation. You can also use a tissue under your eyes to catch fallout.
Keep a Q-tip dipped in makeup remover handy. Gently erase the mistake and reapply a little product.


© 2026 Makeup Studio By Suu All Rights Reserved.
Developed & Marketed By  Seeknext