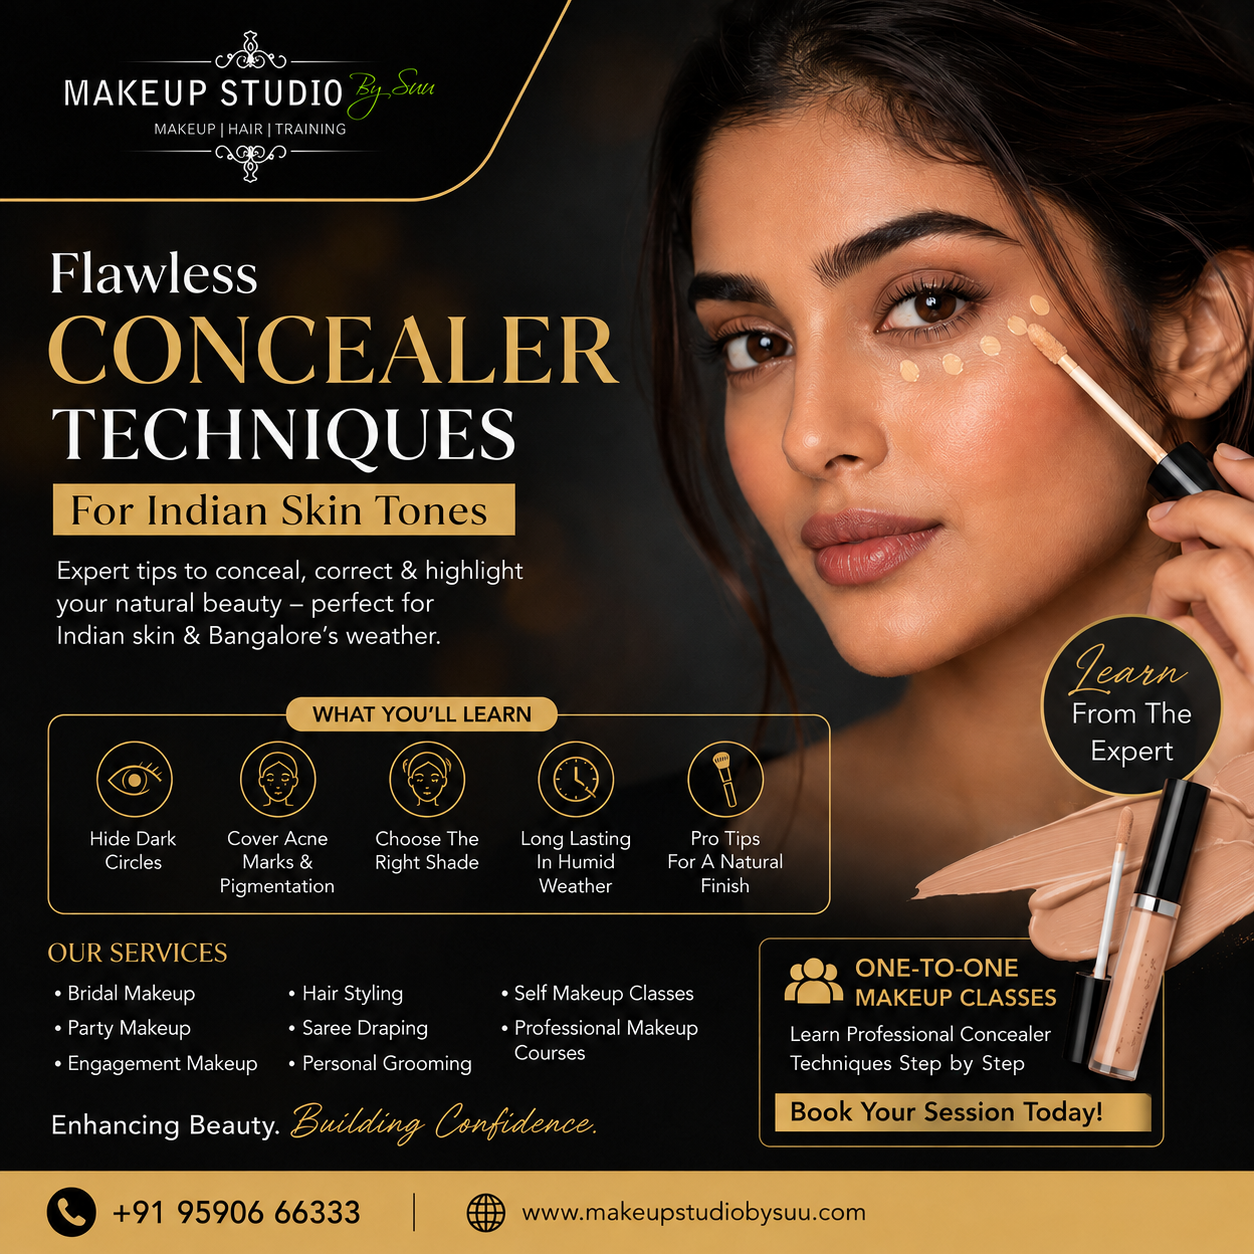
The best concealer technique for Indian skin starts with colour correction: use a peach or orange corrector on dark circles, then apply a hydrating, medium-to-full coverage concealer that matches your undertone (warm, neutral, or cool), and set with a finely milled powder. This method counters the common issues of pigmentation, dullness, and varying undertones, while adapting to Bangalore’s humid climate by using lightweight, long-wear formulas. Always blend with a damp sponge in tapping motions, not swiping, to avoid creasing and achieve a natural finish.
Most global beauty advice is geared towards lighter or more uniform skin tones. Indian skin is incredibly diverse, with a spectrum of undertones—from warm golden to cool olive—and common concerns like pigmentation around the mouth, under-eye darkness, and acne marks. Also, the humid climate in cities like Bangalore causes makeup to melt quickly, so a heavy, dry concealer will cake and settle into fine lines. The key is to adapt techniques to our specific needs.
First, identify your undertone. Look at the veins on your wrist: if they appear green, you are warm; if blue, you are cool; if both, you are neutral. For Indian skin, most are warm or neutral. Test concealer on your jawline or the area where you apply it (under-eye, blemishes) in natural light. The shade should be 1-2 shades lighter than your foundation for brightening under-eyes, but match exactly for spot-concealing. Avoid shades that look ashy or too pink.
It depends on your goal. For a natural look, apply foundation first, then concealer where needed—this avoids over-concealing. For more coverage, especially for dark circles, you can apply corrector and concealer before foundation, then blend. In my practice, I often apply a thin layer of foundation, then concealer, then blend with a damp sponge to blur any edges.
Dark circles are a common complaint. The trick is to use a colour corrector first. For medium-tan to deep skin, use a peach or orange corrector (like LA Girl Pro Conceal in Orange) under the eyes. Apply it in a triangle shape, blend with a damp sponge, then apply your concealer. Choose a hydrating, creamy concealer (like Maybelline Fit Me or L’Oreal Infallible) and set with a loose powder using a fluffy brush. Avoid heavy baking; just a light dusting helps.
For acne marks or hyperpigmentation, use a green corrector for redness, then apply a full-coverage concealer that matches your skin exactly. Use a small, flat brush to pat the concealer onto the spot, wait 30 seconds, then blend with a fingertip. Set with a translucent powder. For pigmentation around the mouth (often a warm brown), use a yellow or coral corrector before concealer.
Opt for lightweight, long-wearing, water-resistant formulas. Cream-to-powder or liquid concealers with a matte or natural finish work well. Avoid oil-based heavy creams that slide off. Some favourites among my clients:
Prep is crucial. Start with a hydrating but oil-free moisturizer, wait 5 minutes, then apply a primer. Use a pea-sized amount of concealer and build in thin layers. After concealing, set with a translucent powder using a damp sponge (press in) or a puff. Carry a blotting paper and a setting spray (like Urban Decay All Nighter) for touch-ups. In Bangalore’s rain and humidity, avoid touching your face; use a setting spray to lock everything.
For a professional makeup session that includes concealer techniques, prices in Bangalore range from ₹2,000 to ₹10,000 depending on the artist’s experience and the occasion. A bridal look with advanced colour correction can cost more. Many artists also offer one-on-one tutorials (₹1,500–₹3,000) to teach you the technique yourself. Choose an artist who understands Indian skin tones and has a portfolio.
Using a concealer that is too light (creating grey or ashy under-eyes), skipping colour corrector, using the wrong undertone (pink on warm skin can look ashy), applying too much product, and failing to set properly. Also, blending with a brush instead of a sponge can leave streaks. Remember to always blend downwards under the eyes (following skin texture) to reduce the appearance of wrinkles.
| Undertone | Featues | Shade Guide | Recommended Colour Corrector |
|---|---|---|---|
| Warm | Golden, yellow or peachy | Look for shades with yellow or golden undertones (e.g., ‘Medium Golden’) | Peach or orange for under-eyes |
| Neutral | Mixture of warm and cool | Shades described as ‘neutral’ or ‘sand’ | Salmon or light peach |
| Cool | Pink or rosy | Shades with ‘rose’ or ‘porcelain’ suffix | Apricot or yellow |
As we age, skin gets drier and fine lines appear. Use a hydrating, lightweight concealer (like NARS Radiant Creamy). Avoid powder that is too heavy; instead, use a finely milled translucent powder only on the areas that tend to crease. You can also use a mixing medium or a drop of serum to sheer out the concealer. Concentrate on the outermost corner of the eye and blend inward, as the inner corner has more wrinkles.
For this common issue, use a full-coverage, matte concealer that closely matches your skin. Correct with a yellow or peach corrector first. Then, dip a small flat brush in the concealer and stipple it onto the darker areas, blending outward. Set with a powder. In Bangalore’s humidity, choose a transfer-proof formula like MAC Pro Longwear.
Colour corrector neutralizes the underlying discolouration (e.g., orange for dark circles), while concealer matches your skin tone to cover blemishes. They work together: corrector first, then concealer. This combo is especially important for Indian skin with pigmentation.
Concealer can double as a highlighter. Use a lighter concealer shade under the eyes, on the bridge of the nose, and forehead. This creates dimension. For a subtle contour, use your normal shade slightly darker along the cheekbones. Blend well to avoid harsh lines. This technique is popular for festive occasions like Diwali or weddings.
It neutralizes the discolouration before concealer. For Indian skin, peach or orange corrects dark circles, green corrects redness, and yellow corrects purple or blue areas.
Yes, if the formula is buildable and matches your skin. But for under-eyes, you might want a shade lighter and more hydrating.
Use a small amount, blend well with a damp sponge, and set with a loose powder using a fluffy brush. Avoid pressing too hard, and ensure skin is well-hydrated.
Both can work. Drugstore brands like Maybelline and L’Oreal have excellent options; high-end like NARS and MAC offer more shades and longevity. Choose based on your budget and needs.
Yes, setting helps it last longer, especially in humidity. Use a light hand to avoid a cakey look.


© 2026 Makeup Studio By Suu All Rights Reserved.
Developed & Marketed By  Seeknext